What You’ll Need to Draw a Tarantula
Embarking on the journey of drawing a tarantula can be a rewarding experience, especially if you’re a beginner. Before you begin, gather the necessary materials to ensure a smooth and enjoyable drawing process. The right tools can significantly impact the outcome of your artwork, allowing you to create a realistic and detailed depiction of this fascinating creature. Having the right equipment at your disposal will set you up for success. With patience and the right tools, you’ll be able to create a stunning drawing that captures the essence of this remarkable spider.
Pencils and Paper
The foundation of any good drawing starts with quality pencils and paper. For sketching, it’s recommended to have a variety of pencils with different hardness grades. A range from 2H to 4B is ideal. Pencils marked ‘H’ (hard) are suitable for light lines and outlines, while ‘B’ (black) pencils are softer and perfect for shading and adding depth. Using these you will learn how to draw a spider tarantula, you will need these tools. As for paper, opt for drawing paper with a smooth or medium surface. It should be thick enough to withstand erasing without tearing. A sketchbook or a pad of drawing paper specifically designed for pencils is a good choice. The paper’s texture should complement your pencils, allowing for smooth strokes and easy blending.
Eraser and Sharpener

No drawing is complete without an eraser and a sharpener. A kneaded eraser is highly recommended because it can be molded into different shapes, allowing you to erase small areas or create highlights. A regular eraser is also useful for larger areas. Make sure to keep your pencils sharp with a good quality sharpener. A sharp point allows for precise lines and details, which is crucial when drawing a tarantula’s intricate features. You can also use a mechanical pencil with a lead that can be easily sharpen.
Reference Images
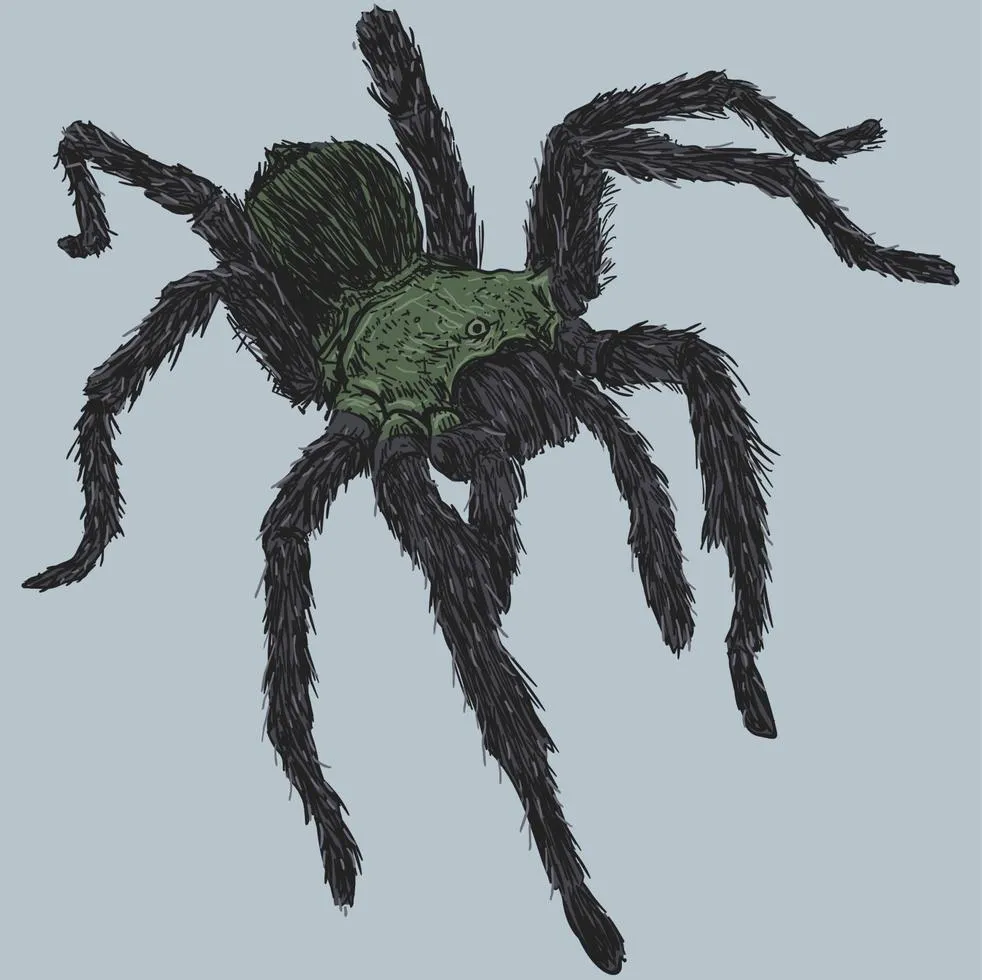
Having good reference images is vital, especially if you’re a beginner. Collect several photos of tarantulas from different angles. This will help you understand their anatomy and proportions. Look for images that show the tarantula in various poses, highlighting its body, legs, eyes, and fangs. Online resources, such as stock photo websites and natural history sites, can provide a wealth of reference material. Printing out your reference images will make them easier to work with, or you can use a tablet or smartphone to view them as you draw. Pay attention to the details, such as the texture of the hairs, the shape of the legs, and the overall body structure. Reference images are useful when learning how to draw a spider tarantula.
Step-by-Step Guide to Drawing a Tarantula
Now that you’ve gathered your materials, let’s begin the step-by-step process of drawing a tarantula. This guide will break down the drawing into manageable stages, making it easier for you to follow along. Remember, the key to success is patience and practice. Don’t be afraid to make mistakes; they are part of the learning process. With each step, you’ll gain a better understanding of the tarantula’s anatomy and how to represent it on paper. Take your time, focus on each stage, and enjoy the creative process of bringing this fascinating creature to life.
Step 1 Draw the Body and Head

Start by drawing the tarantula’s body, which is divided into two main parts cephalothorax (head and thorax) and abdomen. Begin with the cephalothorax, which is generally a rounded shape, and sketch it lightly with a pencil. Then, draw the abdomen, which is usually larger and more oval-shaped. Position the abdomen slightly behind and connected to the cephalothorax. When you are learning how to draw a spider tarantula, make sure to sketch these lightly and then refine the shapes later. Ensure the proportions are accurate by comparing your sketch to your reference images. Don’t worry about perfect lines at this stage; the goal is to establish the basic form.
Step 2 Add the Legs
Next, add the eight legs to your tarantula. Spider tarantulas have four pairs of legs, and they are attached to the cephalothorax. Lightly sketch the placement of the legs, paying attention to their length, thickness, and position. Tarantula legs are usually segmented, so create the basic sections of each leg. Refer to your reference images to understand how the legs are positioned and angled. Remember to consider the perspective, with legs closer to you appearing larger than those further away. Drawing the legs is one of the more complex aspects of learning how to draw a spider tarantula, so take your time and be patient.
Step 3 Detail the Legs and Body
Now, add more detail to the legs and body. Refine the shapes of the legs, making them appear more realistic. Include the joints and segments, and add some texture to the legs to show their hairy appearance. The tarantula’s body has unique textures, so observe the reference images carefully. You can add tiny hairs, create patterns, and vary the shading to make your tarantula look more lifelike. Be careful not to overcrowd your drawing with too much detail. Focus on capturing the essence of the tarantula. When you are learning how to draw a spider tarantula you need to work at these details, this is where the drawing comes to life.
Step 4 Add the Eyes and Fangs

Carefully add the eyes and fangs. Tarantulas typically have eight eyes arranged in a specific pattern on their cephalothorax. Refer to your reference images to determine the correct arrangement of the eyes. You may not need to draw all eight eyes individually; sometimes, a few well-placed dots can create the impression of multiple eyes. Draw the fangs, which are located near the mouth. They are usually curved and sharp. Pay attention to the shape and size of the fangs in your reference images. Adding these details is essential for making your tarantula look realistic. When learning how to draw a spider tarantula, remember that the eyes are very important to get right.
Step 5 Shading and Final Touches
Use shading to add depth and dimension to your drawing. Observe the lighting in your reference images and apply shading accordingly. Use a soft pencil (e.g., 4B or 6B) to create darker areas and a lighter pencil (e.g., 2H) for highlights. Blend the shading with your fingers or a blending stump to create a smooth finish. Add highlights to the legs and body to create the illusion of texture and volume. Once you’re satisfied with the shading, make any necessary adjustments to the lines and details. Erase any unwanted lines, and refine the overall appearance of your drawing. This is the final stage on how to draw a spider tarantula.
Tips for Improving Your Tarantula Drawing
To improve your tarantula drawing skills, consider the following tips. These tips will help you refine your technique and create more realistic and compelling artwork. Embrace these practices to enhance your artistic journey and achieve better results in your future drawings.
Practice Regularly

Practice is the key to improving any skill, including drawing. Dedicate some time each day or week to practice drawing. Even short sessions can make a significant difference over time. Focus on drawing different parts of the tarantula, such as the legs, body, and eyes. Practice various shading techniques and experiment with different pencil grades. Regular practice will help you develop your skills and build confidence. The more you practice, the better you will become at drawing tarantulas and other subjects. Mastering how to draw a spider tarantula is about repetition and consistency.
Study Real Tarantulas
Study real tarantulas or high-quality photographs. Observe the anatomy of a tarantula in detail. Pay attention to the textures of its body, the patterns on its legs, and the arrangement of its eyes. The more you know about the subject, the more accurately you can represent it in your drawings. Visit zoos, museums, or online resources to find reference materials. Studying real-life examples will enhance your understanding and enable you to create more realistic drawings. Analyzing the tarantula’s features will help you better understand how to draw a spider tarantula.
Use Different Shading Techniques
Experiment with different shading techniques to add depth and realism to your drawings. Hatching, cross-hatching, stippling, and blending are just a few examples. Hatching involves drawing parallel lines to create shading. Cross-hatching uses overlapping lines to create darker areas. Stippling involves using dots to build up tones. Blending involves smoothing the shading with a blending stump or your finger. Try different techniques to see which ones work best for you. Using a combination of techniques can create a more visually appealing and realistic drawing. Mastering various shading methods is essential for learning how to draw a spider tarantula effectively.
In conclusion, drawing a tarantula can be a fun and rewarding experience. By following these step-by-step instructions, gathering the right materials, and practicing regularly, you can create stunning drawings of these fascinating creatures. Remember to be patient, observe the details, and enjoy the creative process. With dedication and practice, you’ll improve your drawing skills and create artwork you can be proud of.