Tevo Tarantula Display: Common Problems
The Tevo Tarantula, a popular DIY 3D printer, relies heavily on its display for user interaction and control. A malfunctioning display can halt your printing projects, leading to frustration. Understanding the common issues associated with the display is the first step in troubleshooting and resolving problems. These issues can range from simple fixes, such as a loose cable, to more complex problems requiring component replacement or firmware updates. This guide will provide a detailed walkthrough of common problems and their solutions, empowering you to diagnose and repair your Tevo Tarantula display, ensuring your printer operates optimally.
Display Not Turning On
One of the most frequent issues is the display not turning on at all. This can be due to various factors, from a simple power issue to more complex hardware failures. When faced with a blank screen, the first step is always to verify power delivery and then proceed systematically through potential causes to identify the root of the problem. This systematic approach will help in efficiently isolating the source of the malfunction and implementing the appropriate repair to get your printer back up and running.
Check the Power Supply

Ensure the power supply unit (PSU) is functioning correctly. Check the power cord connection to both the PSU and the wall outlet. Use a multimeter to test the voltage output of the PSU, making sure it matches the specifications of your Tevo Tarantula. A faulty PSU can fail to deliver power to the display and other printer components, preventing the display from turning on. If the PSU is faulty, it must be replaced with a compatible unit to restore display functionality. A visual inspection is also important, check if the PSU fan spins when the printer is on; if not, further inspection is needed
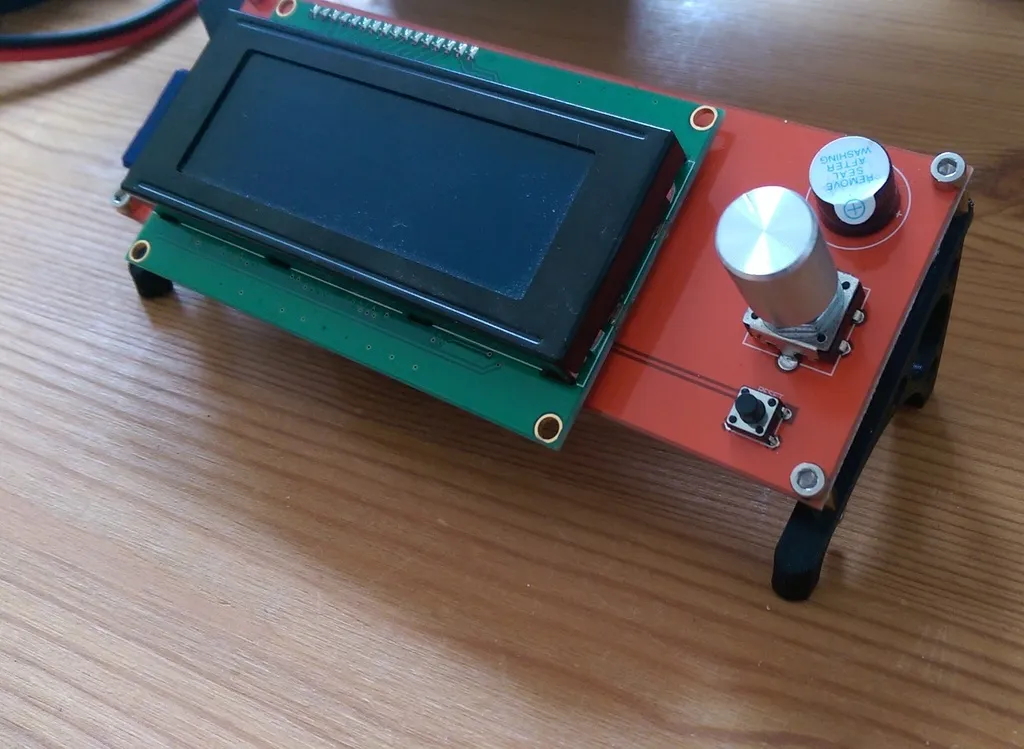
Inspect the Display Connector
The display connects to the motherboard via a ribbon cable or a connector. Carefully inspect this connection for any signs of damage, such as bent pins or loose connections. Disconnect and reconnect the cable, ensuring it is firmly seated. Sometimes, simply reseating the connector can fix the issue. If the cable or connector is damaged, replace it with a new one. Ensure that the replacement cable is compatible with your specific Tevo Tarantula model, as display connectors can vary. Always power off the printer before working with electrical components to prevent short circuits or other damage.
Examine the Motherboard
The motherboard is the central control unit of your 3D printer, and it provides power and signals to the display. Check for any visible damage to the motherboard, such as burnt components or damaged traces. Make sure the display port on the motherboard is functioning correctly. If the motherboard is the issue, you may need to replace it. Replacing the motherboard requires some technical expertise and familiarity with 3D printer electronics. Refer to your printer’s manual or online resources for detailed instructions on motherboard replacement. This is often a more advanced repair and may necessitate professional assistance.
Display Showing Garbled Text

Garbled text or a distorted display usually indicates a communication problem between the motherboard and the display. The issue could arise from corrupted firmware, faulty wiring, or even hardware failures. Resolving this issue involves pinpointing the exact origin of the problem and applying the suitable fix. This section guides you through the troubleshooting steps required to correct the display, ensuring the printer relays information accurately and is user-friendly.
Check Firmware Corruption
Corrupted firmware is a common reason for display issues. If the firmware is damaged or improperly installed, the display may show garbled text or not function correctly. Ensure the firmware is compatible with your display model and the 3D printer’s motherboard. The solution is to re-flash the firmware to the printer’s motherboard. Download the latest firmware version from the manufacturer’s website or a trusted source. The firmware update process usually involves connecting the printer to a computer and using software, such as the Arduino IDE, to upload the new firmware. Always follow the manufacturer’s instructions when updating firmware to avoid causing more problems.
Re-flash the Firmware
To re-flash the firmware, you will need to connect your Tevo Tarantula to your computer. This is usually done via a USB cable. You’ll then need software like the Arduino IDE or another specific firmware flashing tool, depending on your printer’s setup. Download the correct firmware file from a reliable source; the manufacturer’s website is always the safest bet. After the software is installed, follow the instructions to upload the firmware to your printer’s motherboard. Be very careful throughout this process, as a corrupted firmware file or an interruption during flashing can brick your printer. Ensure a stable power supply and a secure connection throughout.
Verify Wiring Connections

Inspect all wiring connections between the motherboard and the display. Loose or damaged wires can disrupt the signal, leading to display errors. Ensure all wires are firmly connected to their respective terminals and that no wires are frayed or broken. Sometimes, simply wiggling the connectors or re-seating the wires can fix the display issues. If you find damaged wires, replace them with new ones, making sure to match the gauge and type of wire. If you’re unsure about the wiring, consult the Tevo Tarantula’s wiring diagram to ensure everything is connected correctly, avoiding any misconnections that could worsen the situation.
Display Dim or Faded
A display that is dim or faded can significantly impair the visibility of critical information. This problem is generally linked to backlight issues or contrast setting problems. Diagnosing a dim or faded display typically requires assessing the backlight, confirming that the contrast settings are optimized and inspecting the display cable for any possible damage. A bright and clear display is vital for effectively controlling and monitoring your 3D prints, so it’s important to address these problems to ensure that your printer continues to work as intended.
Assess the Backlight
The backlight illuminates the display, making it visible. If the backlight is failing, the display will appear dim. To assess the backlight, visually inspect the display for any signs of damage. There is not always a way to visually inspect the backlight components. Backlight failure is often due to the LED’s lifespan expiring. Replacing the display panel may be necessary. With the printer switched off, carefully examine the display unit for any physical damage. If any damage is visible, the display might need to be replaced entirely. If the display seems okay, consider testing the voltage to the backlight, if you have the skills and tools to do so. Ensure the correct voltage is being supplied; if not, the power supply to the display may need to be repaired or replaced.
Test the Contrast Settings

The contrast settings control how bright or dark the display appears. Check the display’s menu options (if accessible) to adjust the contrast. Sometimes, the contrast is set too low, making the display dim. Increase the contrast settings and check if it improves the display’s visibility. The contrast settings can also be adjusted through the printer’s firmware. If the contrast control is not working or if the display is still dim, there might be a hardware problem with the display itself or the motherboard’s signal output. Resetting the display to its default settings and then re-adjusting the contrast can sometimes resolve this issue. Be sure to consult your printer’s manual for specific instructions on adjusting contrast settings.
Inspect Display Cable for Damage
A damaged display cable can cause dimness or flickering. Check the cable for any physical damage, such as kinks, bends, or cuts. Carefully examine the connectors at both ends of the cable (motherboard and display) for any signs of corrosion or loose connections. If you find any damage, replace the cable with a new one, making sure to match the correct type and pinout. Ensure the new cable is properly connected to both the display and the motherboard. If the cable is fine, the problem might be with the backlight or display itself, and you may need to explore advanced troubleshooting. Always ensure that the printer is powered off and unplugged before any inspection or replacement of the display cable.
Tevo Tarantula Display: Maintenance
Proper maintenance can significantly extend the life and functionality of your Tevo Tarantula display. Regular upkeep, like cleaning, visual inspection, and keeping firmware current, can help prevent many common display problems. Consistent maintenance ensures the display remains clear, responsive, and reliable, contributing to the overall performance of your 3D printer.
Cleaning the Display

Dust and debris can reduce display visibility. Clean the display regularly with a soft, lint-free cloth. Use a mild cleaning solution if necessary, but avoid harsh chemicals that could damage the screen. Gently wipe the display surface to remove any dirt or fingerprints. Never spray the cleaning solution directly onto the display; instead, apply it to the cloth. Keeping the display clean makes the information easier to read and helps to prevent issues caused by dust accumulation. Always make sure the printer is turned off and unplugged before cleaning.
Regular Visual Inspection
Periodically inspect the display and its connections for any signs of damage. Look for loose wires, frayed cables, or any physical damage to the display unit. These issues, if addressed early, can prevent more severe problems. Check the display connectors on the motherboard and display itself to ensure they are firmly connected. During each inspection, make note of anything that looks abnormal, such as discoloration, burn marks, or any evidence of wear and tear. Early detection of issues helps you take timely action and ensures that your display remains in excellent condition.
Updating Firmware
Keep your printer’s firmware up-to-date to fix bugs and improve performance. Regularly check the manufacturer’s website for new firmware versions. When updating the firmware, always follow the instructions carefully to avoid errors or corruption. Firmware updates can resolve issues, improve display functionality, and add new features to your Tevo Tarantula. A quick online search, including the printer model number, may help locate the latest firmware updates and installation instructions. Ensure the firmware is compatible with the display model to prevent potential issues.
Tevo Tarantula Display: Advanced Troubleshooting

If the basic troubleshooting steps don’t resolve the display issues, advanced measures may be necessary. This could involve identifying component failure, conducting tests with a multimeter, or seeking help from a professional repair service. Advanced troubleshooting requires more technical expertise and may involve disassembling the printer and handling electronic components. Always exercise caution when working with electronics, and if you are unsure, it is always best to seek professional help to prevent causing more damage.
Identifying Component Failure
Identifying component failure is a complex process that involves detailed examination of the display and its associated electronics. Visually inspect the components on the display board and the motherboard for any signs of damage. Use a magnifying glass if necessary to get a closer look at the individual components. Check for burnt resistors, bulging capacitors, or other visible abnormalities. If you suspect a component failure, consult the schematic diagrams for the display and motherboard to identify the component. It may be necessary to replace individual components, but this requires expertise in soldering and electronics repair. If unsure, professional help is best to avoid further damage to your printer.
Using a Multimeter
A multimeter is a useful tool for testing the electrical components. Use the multimeter to test for voltage, resistance, and continuity across the display components. Before using the multimeter, familiarize yourself with its functionality and how to safely measure different electrical parameters. Use the schematic diagrams of the display and motherboard to identify the components you need to test. By measuring the voltage across various components, you can determine if they are receiving the correct power. Test for continuity to see if the circuits are complete and that the components are connected as they should be. If you find any voltage or resistance values outside the expected range, the component may be faulty and need to be replaced. Always ensure that the printer is powered off and unplugged before using a multimeter to avoid electrical shock.
Seeking Professional Help
If you are unable to diagnose or repair the display issues, consider seeking professional help. A qualified 3D printer repair technician has the expertise, tools, and experience to diagnose and repair complex problems. Before sending your printer for repair, check to see if it is still under warranty, this may cover the repair costs. When choosing a repair service, look for one that specializes in 3D printers, has a good reputation, and offers a warranty on its repairs. Before sending it in, document the issue, including the troubleshooting steps you have already taken. Provide the repair technician with as much information as possible to facilitate an efficient and effective repair.